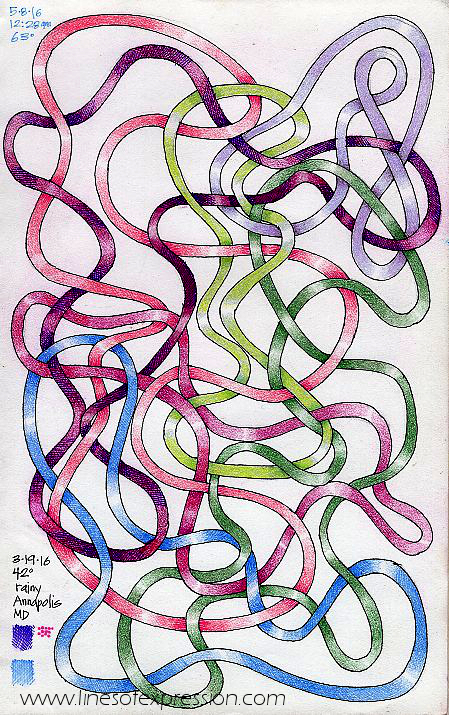
In this post are step by step directions on how to make this ribbon value exercise. It isn’t difficult and I expect that it will turn out well.
This is one of my go to exercises when I don’t know what to draw. If I remember right, I got this exercise from the Make and Do book for children. Childcraft: The How and Why Library.
It occurs to me that if we need to go a space of time without digital gadgets, I have a list of analogue activities to entertain myself. This exercise is on the list. I love to read, to write, to journal, to draw, to knit, to crochet, and to garden.
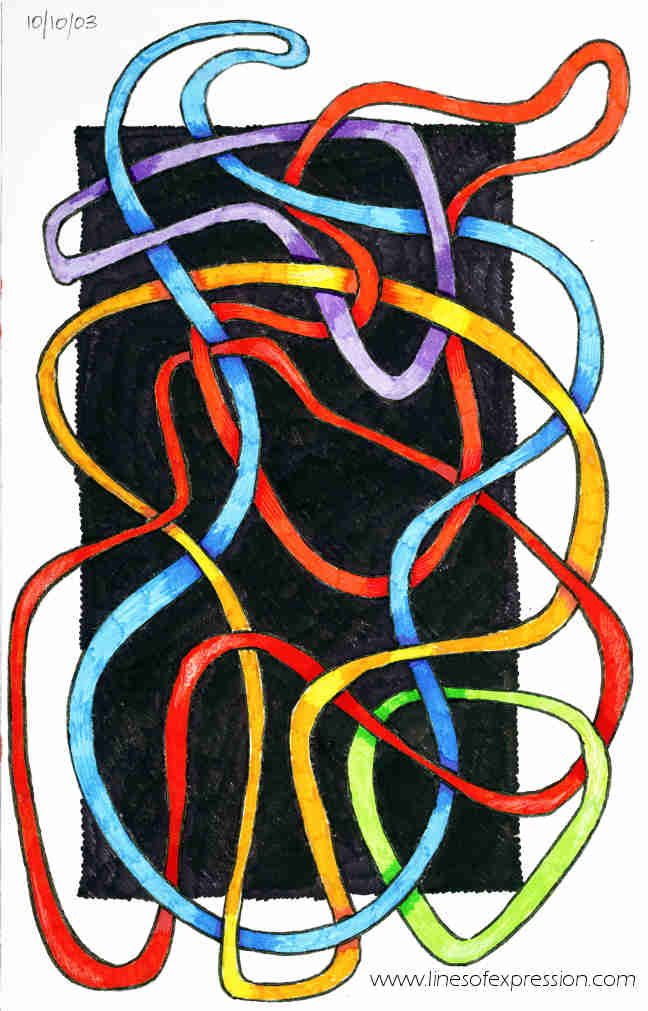
If you want an exercise that you can repeat over and over with stellar results, this one is for you. This exercise will make a nice sketchbook page no matter what colors you choose. At the same time, you will be showing up to the page, practicing your value scales and inking skills.
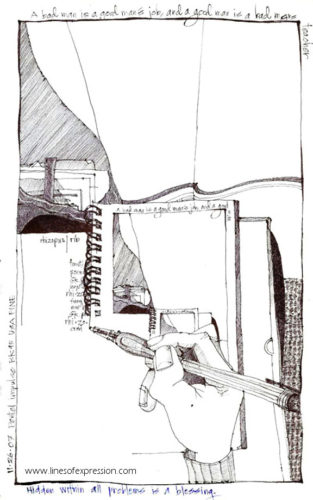
Steps to Making This Ribbon Sketchbook Exercise:
- Draw one squiggle on your page in pencil so the beginning and the ending are connecting.
- Create an identical squiggle next to (parallel to) the first one the thickness that you want your ribbon.
- Make several more squiggles on the page that connect the beginning and the ending.
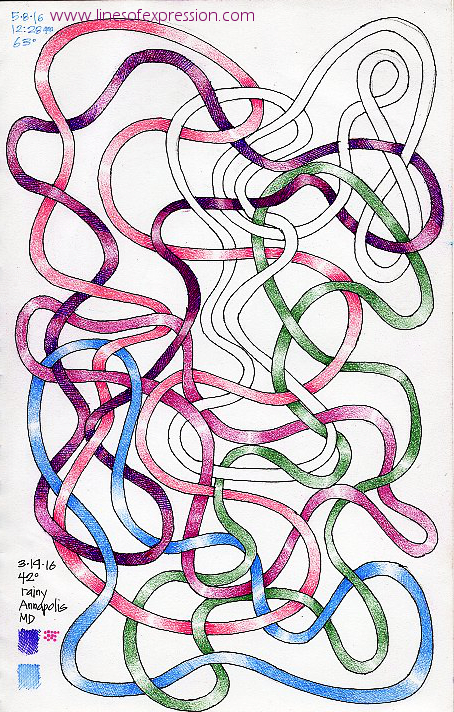
- Erase the points where the squiggles overlap deciding each time which shape will go under and which will go over.
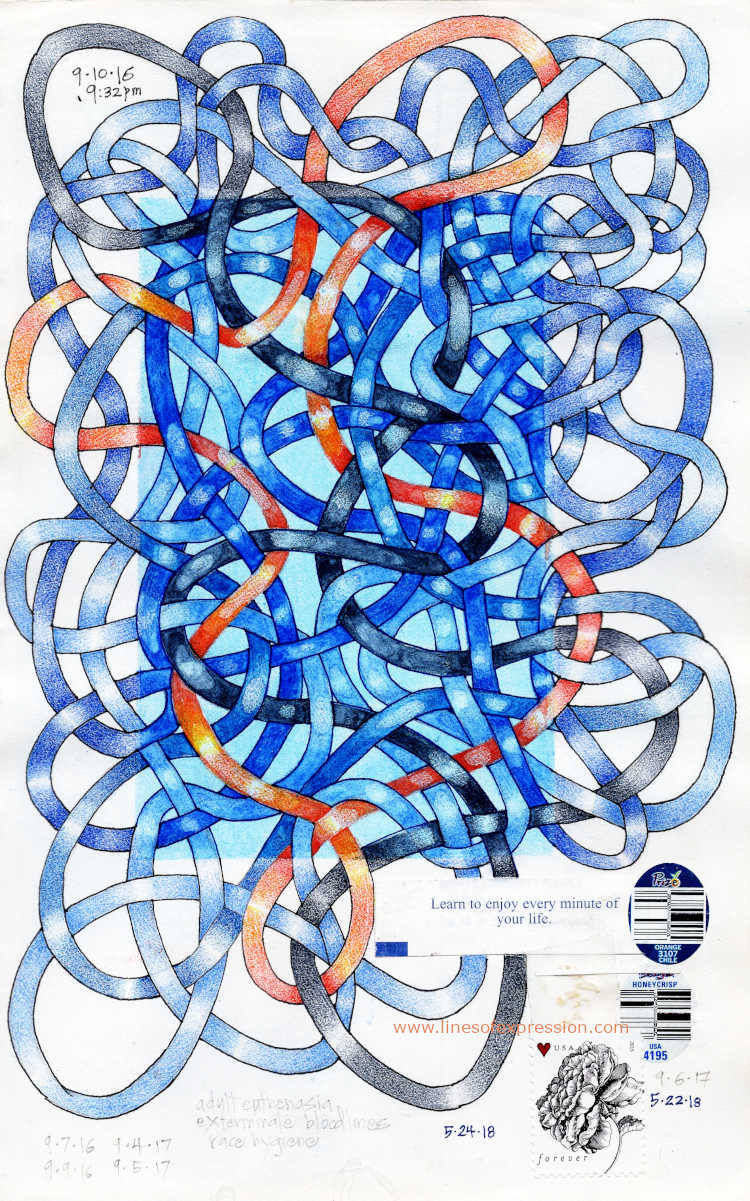
- Repeat as many times as you can fit on the page. If you choose to cram in a lot of ribbons, you may need to number them.
- Ink all the squiggles.
- Fill in with color using the parts that overlap for value study paying attention to which parts are in shadow and which are highlighted.
If you make one, I would love to see your work! Post your drawings on IG with the #sketchbookplayground hashtag.
Leave a Reply